
DIY Pillow!

WE ALL HAVE OLD CLOTHES THAT WE WOULD NEVER WEAR AGAIN... CLOTHES THAT WE WONDER WHY OR HOW IT EVER ENTERED OUR CLOSET TO BEGIN WITH ! ! WELL, DON'T JUST THROW IT AWAY... EITHER DONATE IT OR MAKE IT INTO A DIY PROJECT!
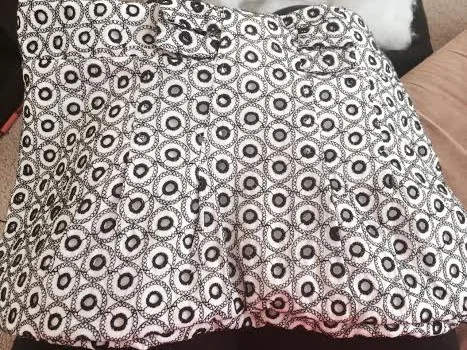
A friend of mine was getting rid of some old clothes, she asked me if i wanted her skirt. In my opinion the fabric and pattern was HORRIBLE for a skirt, but PERFECT for home decor, like a pillow! The black and white colors give a modern feel and the pattern is a bit retro! So cute! So I decided to get a little crafty and make it into a throw pillow!
All you need if you'd like to make a throw pillow out of some old clothes is some scissors, a needle and thread and some stuffing. Make sure to use a color thread that matches the fabric. For pillow stuffing, you can buy a cheap pillow at walmart or target, one that you can cut open to get the stuffing. I found a $4.00 one at target.
Remember: the fun thing about throw pillows is that they can be any size and shape! Get creative with it!
FIRST: Cut the fabric into the size of the pillow you will want. Remember, on the edges you need to sew, they will become shorter. Example Pictured Below.

NEXT: Stitching. Make sure before you start your Backstitch, the pillow is turned inside out. You will Backstitch one open side, then the other side. Remember to leave an openring for the stuffing.
How to BACKSTITCH:
I learned through youtube videos. But this photo may help too:

NE XT: STUFFING. To stuff the pillow you will leave part of the pillow open, make sure it is not inside out anymore. Stuff it full of stuffing and then sew the open corner shut. With this pillow I made, I stuffed it through the zipper.
Partially stuffed.
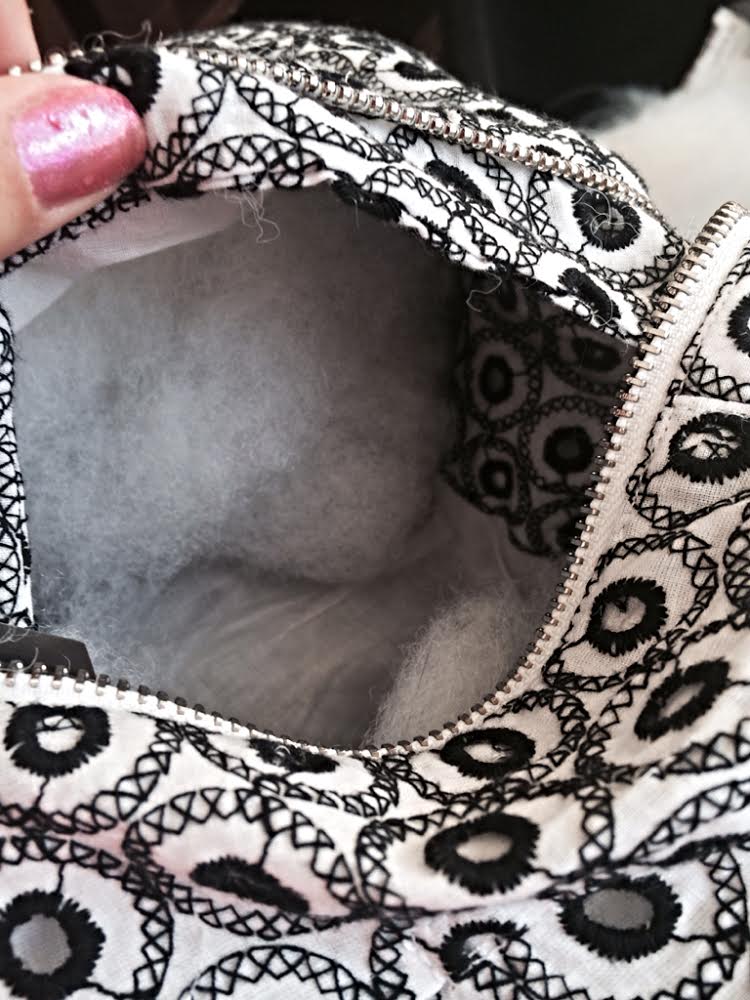
Stuffing
finished!

FRONT

BACK
